Connecting to ShipStation
To connect your custom store to ShipStation, do the following:
- Go to Account Settings (the wrench icon in the upper right).

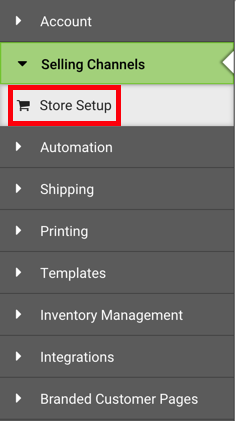
- Select Selling Channels from the left-hand sidebar, then choose Store Setup.

- Click + Connect a Store or Marketplace.

- Choose the Custom Store option.

- Enter the requested information into the form and test your connection using the Test Connection button.
The table provides details about the form fields in the connection window.
| Form Field | Description |
|---|---|
| URL to custom CML Page | This is the location of your Web Endpoint. HTTPS is recommended. |
| Unpaid Status | This is the name of the status in your system that indicates an order is not yet paid for and not yet ready to be shipped. Multiple statuses may be separated by a comma. |
| Paid Status | This is the name of the status in your system that indicates an order is paid and ready to ship. |
| Shipped Status | This is the name of the status in your system that indicates an order is shipped. |
| Cancelled Status | This is the name of the status in your system that indicates an order is cancelled. |
| On-Hold Status | This is the name of the status in your system that indicates an order is on hold. |
The status fields map your order statuses to ShipStation's order statuses. This determines where orders will import to in ShipStation. These fields are case sensitive.
Once the connection is complete, ShipStation will begin communicating with your Web Endpoint to obtain order information.
